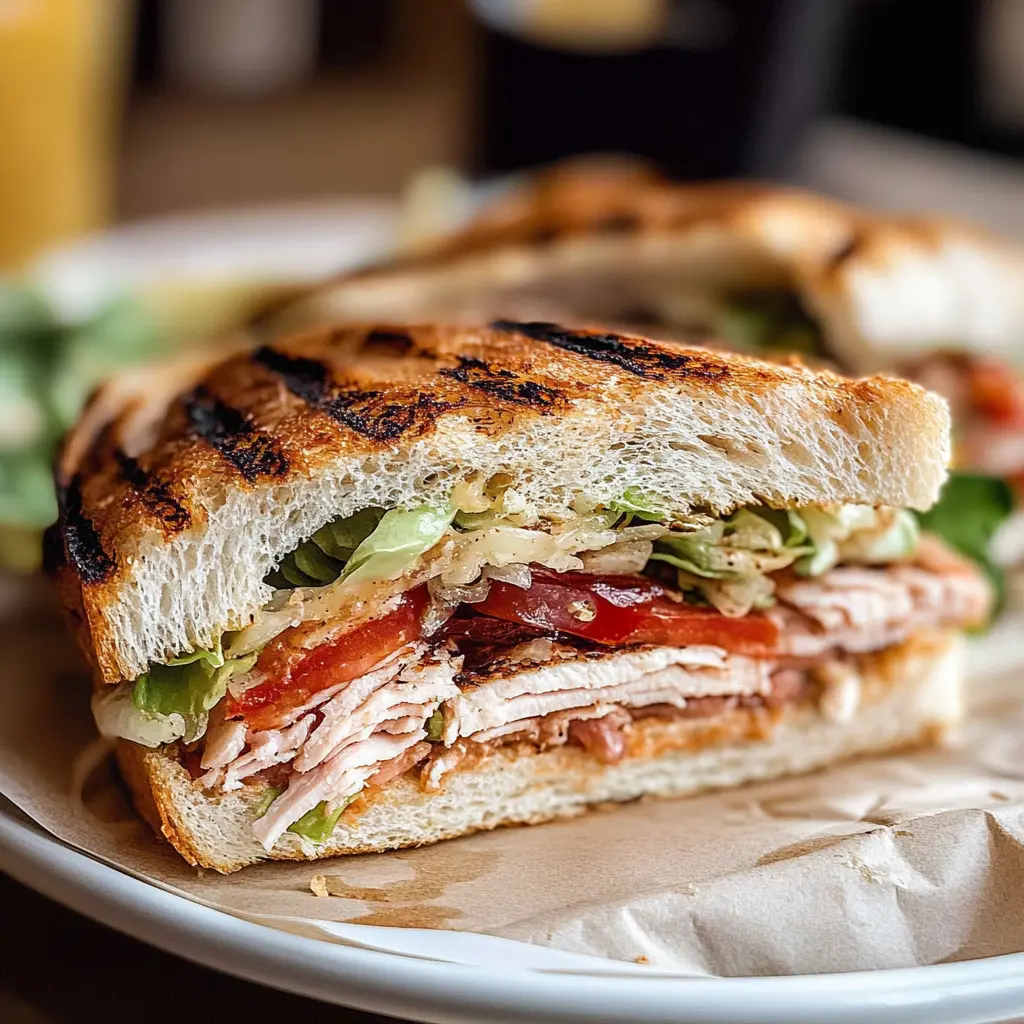
– **Title**: Grinder Sandwich
– **Ingredients**:
– 1 sub roll or hoagie bun
– 3 oz deli meats (e.g., ham, salami, turkey, or roast beef)
– 2 oz provolone or mozzarella cheese
– 1/4 cup shredded lettuce
– 1/4 cup diced tomatoes
– 1/4 cup sliced red onions
– 2 tablespoons mayonnaise
– 1 tablespoon Italian dressing or vinaigrette
– Salt and pepper to taste
– Optional: banana peppers or pickles for garnish
– **Instructions**:
1. Preheat your oven to 350°F (175°C).
2. Slice the sub roll or hoagie bun lengthwise, taking care not to cut all the way through.
3. Spread the mayonnaise evenly on the inside of the roll.
4. Layer the deli meats on one side of the roll, followed by the cheese.
5. Add the shredded lettuce, diced tomatoes, and sliced red onions on top of the cheese.
6. Drizzle the Italian dressing over the vegetables, and season with salt and pepper to taste.
7. Optionally, add banana peppers or pickles for extra flavor.
8. Close the sandwich and wrap it in aluminum foil. Place it in the preheated oven for about 10-15 minutes, or until the cheese is melted and the sandwich is heated through.
9. Remove the sandwich from the oven and let it cool for a minute before slicing it in half.
10. Serve immediately and enjoy your delicious Grinder Sandwich!
Key Ingredients & Substitutions
Hoagie Roll: A fresh, soft hoagie roll is perfect for this sandwich. If you can’t find hoagie rolls, subs, or even Italian bread can work well. Personally, I love a crusty roll for that extra texture!
Deli Meats: This recipe uses salami, pepperoni, and turkey or ham. Feel free to swap in other favorites like roast beef or chicken. If you’re vegetarian, consider using grilled veggies or marinated tofu instead.
Provolone Cheese: Provolone adds great flavor and meltiness. If you’re not a fan, mozzarella or Swiss cheese are great substitutes. For a dairy-free option, try vegan cheese that melts well.
Italian Seasoning: This blend enhances the flavor. If you don’t have it, a mix of oregano, basil, and thyme works great. I often add a pinch of garlic powder for extra taste!
How Do I Make Sure My Grinder Sandwich Has Perfectly Melted Cheese?
Getting that gooey, melted cheese is key to a great Grinder Sandwich. Here’s how to achieve that:
- Layer cheese directly on top of the meats; this helps it melt better.
- Wrap your sandwich in aluminum foil. This keeps the heat in, melting the cheese evenly.
- Keep an eye on the timer! Bake for 10-15 minutes; cooking longer can dry it out.
- If you like it extra crispy, unwrap the sandwich in the last 2 minutes for a toasted top!

How to Make a Delicious Grinder Sandwich
Ingredients You’ll Need:
For the Sandwich:
- 1 large hoagie roll or sub bread
- 4 ounces sliced salami
- 4 ounces sliced pepperoni
- 4 ounces sliced turkey or ham
- 4 ounces provolone cheese
- 1/2 cup shredded lettuce
- 1/2 cup sliced tomatoes
- 1/4 cup diced onions (optional)
For the Spread:
- 1/4 cup mayonnaise
- 1 tablespoon Italian seasoning
- 1 tablespoon red wine vinegar
- Salt and pepper to taste
- Olive oil (for drizzling)
- Optional: crushed red pepper flakes for added heat
How Much Time Will You Need?
This delicious sandwich takes about 10 minutes to prepare and 10-15 minutes to bake in the oven, making it a quick and satisfying meal. Total time is around 20-25 minutes from start to finish!
Step-by-Step Instructions:
1. Preheat the Oven:
Start by preheating your oven to 350°F (175°C). This will make sure your sandwich gets nice and toasty while baking!
2. Prepare the Spread:
In a small bowl, mix together the mayonnaise, Italian seasoning, red wine vinegar, salt, and pepper. Stir well to create a tasty spread that will give your sandwich extra flavor.
3. Assemble the Sandwich:
Carefully cut the hoagie roll in half. Take your prepared spread and generously apply it on both sides of the bread. Now, layer the sliced salami, pepperoni, turkey or ham, and provolone cheese on the bottom half of the hoagie roll.
4. Add the Fresh Ingredients:
On top of the meats and cheese, pile on a generous amount of shredded lettuce, sliced tomatoes, and diced onions if you like a little crunch. Drizzle some olive oil over the top and sprinkle crushed red pepper flakes for a spicy kick if you want.
5. Wrap and Bake:
Close up your sandwich with the top half of the hoagie roll. Wrap it loosely in aluminum foil to keep it nice and warm while baking. Place the wrapped sandwich in the preheated oven.
6. Bake to Perfection:
Let the sandwich bake for about 10-15 minutes. You’ll know it’s done when the bread is lightly toasted and the cheese is melty and gooey!
7. Serve It Up:
Carefully remove the sandwich from the oven and unwrap it. If you like, slice it in half for easy serving. Enjoy your warm and scrumptious Grinder Sandwich!
Enjoy every bite of your delicious Grinder Sandwich, perfect for lunch or a quick dinner!
Can I Substitute the Meat?
Absolutely! You can use any deli meats you prefer. If you’re looking for a lighter option, try using grilled chicken or a combination of your favorite cold cuts. Just ensure to keep the total amount around 12 ounces to maintain the balance of flavors.
What If I Don’t Have Provolone Cheese?
No problem! You can substitute provolone with mozzarella, cheddar, or even Swiss cheese. Each will give a slightly different flavor, but they will all work well in this sandwich!
How to Store Leftover Sandwich?
If you have leftovers, wrap them tightly in plastic wrap or aluminum foil and store them in the fridge for up to 2 days. To reheat, unwrap and pop it back into a preheated oven at 350°F (175°C) for about 10 minutes or until warmed through.
Can I Make This Sandwich Ahead of Time?
Yes, you can prepare the sandwich in advance! Just assemble it without heating or toasting it. Wrap it up tightly and refrigerate for up to 1 day. When you’re ready to enjoy, simply bake it as directed to warm it through and achieve that delightful toasted finish.