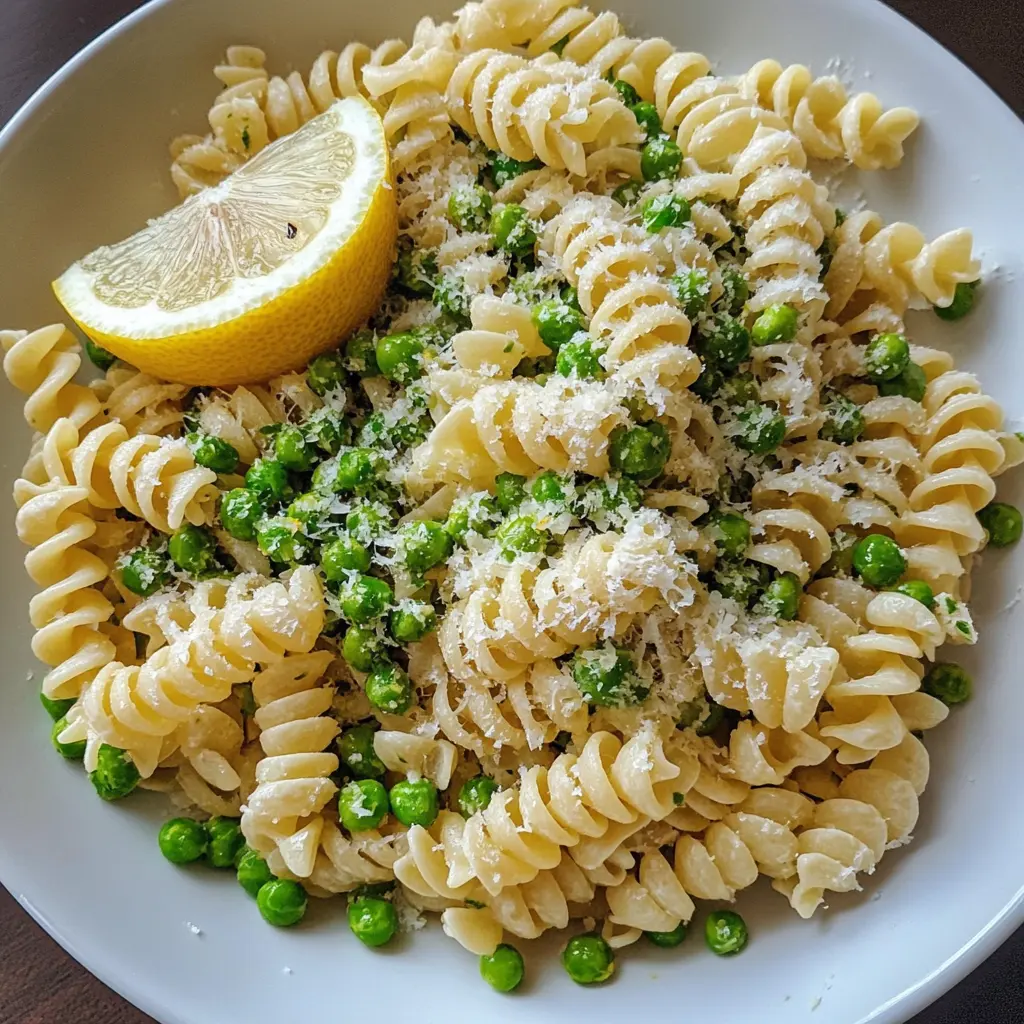
– **Title**: Easy Lemony Spring Pea Pasta
– **Ingredients**:
– 8 oz pasta (such as spaghetti, fettuccine, or penne)
– 1 cup fresh or frozen peas
– 2 tablespoons olive oil
– 2 cloves garlic, minced
– Zest of 1 lemon
– Juice of 1 lemon
– 1/4 cup grated Parmesan cheese (optional)
– Salt and pepper to taste
– Fresh basil or mint leaves for garnish (optional)
– **Instructions**:
1. Cook the pasta according to the package instructions in a large pot of salted boiling water. Add the peas to the pot during the last 2 minutes of cooking. Drain the pasta and peas, reserving about 1/2 cup of the pasta water.
2. In a large skillet, heat the olive oil over medium heat. Add the minced garlic and sauté for about 1 minute until fragrant, being careful not to burn it.
3. Add the drained pasta and peas to the skillet, along with the lemon zest and lemon juice. Toss everything together, adding a little reserved pasta water to help create a sauce if needed.
4. Stir in the grated Parmesan cheese, if using, and season with salt and pepper to taste.
5. Serve immediately, garnished with fresh basil or mint leaves if desired. Enjoy your refreshing lemony spring pea pasta!
Key Ingredients & Substitutions
Rotini Pasta: Rotini is perfect for holding onto the sauce and peas. If you don’t have it, pasta like fusilli, penne, or farfalle will work well too. Whole wheat or gluten-free pasta can also be excellent substitutes for a healthier option.
Fresh Peas: Fresh peas bring a vibrant taste and texture, but feel free to use frozen peas when they’re not in season. They’re just as nutritious and save you time on prep.
Olive Oil: Extra virgin olive oil adds a lot of flavor. If you prefer a lighter taste, you can use canola or avocado oil instead.
Lemon: Fresh lemon zest and juice brighten the dish. If you’re out of lemons, a splash of apple cider vinegar can mimic some of that acidity, though it won’t taste the same.
Parmesan Cheese: Grated Parmesan adds a salty depth. You can substitute Pecorino Romano for a stronger flavor or a dairy-free cheese if you’re avoiding dairy.
How Can I Make Sure the Pasta is Cooked Perfectly?
Cooking pasta perfectly is key for the right texture! Start by boiling salted water; this enhances the flavor. Add the pasta and stir occasionally. Check for “al dente” about a minute before the package time. This means it’s tender but still firm to the bite. Remember to reserve some pasta water for later!
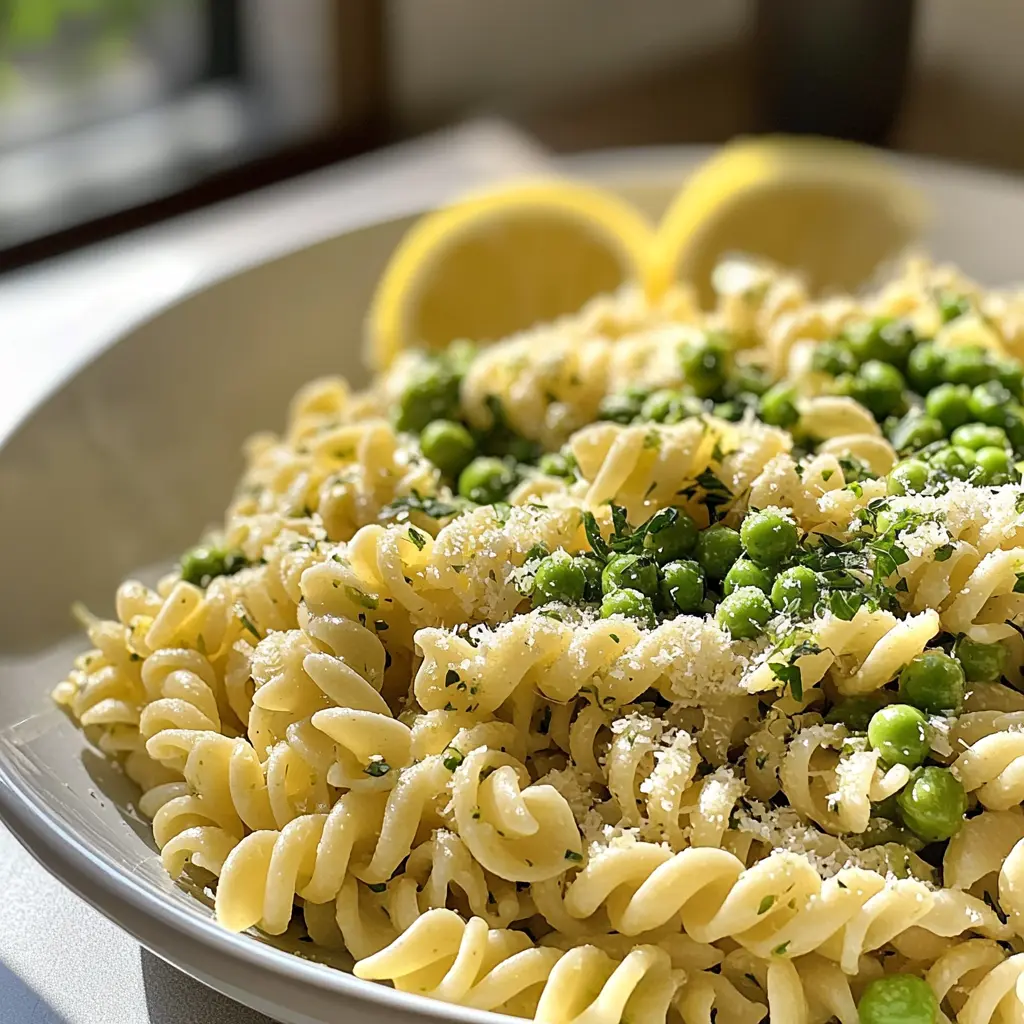
Easy Lemony Spring Pea Pasta Recipe
Ingredients You’ll Need:
For The Pasta:
- 12 oz (340g) rotini pasta
- 1 cup fresh peas (or frozen peas, thawed)
For The Sauce:
- 2 tbsp olive oil
- 2 cloves garlic, minced
- Zest of 1 lemon
- Juice of 1 lemon
- 1/4 cup grated Parmesan cheese (plus more for serving)
- 1/4 cup fresh parsley, chopped
- Salt and pepper to taste
For Serving:
- Optional: Lemon wedges
How Much Time Will You Need?
This dish takes about 25 minutes to prepare. Cooking the pasta will take around 10-12 minutes, and mixing everything together will take about 10 minutes. It’s quick, fresh, and perfect for a spring meal!
Step-by-Step Instructions:
1. Cook the Pasta:
Start by boiling a large pot of salted water. Once it’s boiling, add the rotini pasta and cook according to the package instructions until it’s al dente. When the pasta is ready, reserve 1 cup of the pasta water (you’ll need this later) and then drain the rest. Set the cooked pasta aside for now.
2. Sauté the Garlic:
In the same pot where you cooked the pasta, heat the olive oil over medium heat. Add the minced garlic and sauté it for about 1 minute, or until it smells amazing! Be careful not to let it brown.
3. Cook the Peas:
Next, add the fresh peas to the pot with the garlic. If you’re using fresh peas, cook them for about 2-3 minutes until they’re tender. If you’re using frozen peas, just toss them in and heat them through for a couple of minutes!
4. Combine Pasta and Peas:
Now, it’s time to bring it all together! Add the drained pasta back to the pot. Pour in the lemon juice and lemon zest, and sprinkle in the grated Parmesan cheese. Toss everything together gently to mix it up nicely.
5. Create a Creamy Sauce:
Add in the reserved pasta water a little bit at a time, stirring until you reach a creamy consistency. This is where you can adjust the texture to your liking. Finally, season with salt and pepper to taste.
6. Add Fresh Herbs:
Take the pot off the heat and stir in the chopped parsley. This adds a lovely flavor and bright color to your pasta!
7. Serve and Enjoy!
Your Lemony Spring Pea Pasta is ready to serve! Garnish with extra Parmesan cheese and lemon wedges on the side if you’d like. Enjoy this fresh and vibrant dish—perfect for springtime gatherings!
Can I Use Different Types of Pasta?
Absolutely! While rotini works great for this recipe, you can substitute it with any pasta shape you like, such as penne, fusilli, or spaghetti. Just be sure to adjust the cooking time according to the pasta type you choose!
What If I Don’t Have Fresh Peas?
No worries! You can easily use frozen peas instead. Just make sure they are thawed before adding to the dish. If you forget to thaw them, you can add them straight from the freezer and heat through until warm, which typically takes only a minute or two.
Can I Make This Pasta in Advance?
Yes, you can prepare this dish ahead of time! Just cook the pasta and mix everything else, but leave out the parsley until serving. Store in the fridge for up to 2 days. When you’re ready to eat, reheat on the stove, adding a splash of water or extra olive oil to loosen it up.
How to Store Leftovers?
Store any leftovers in an airtight container in the fridge for up to 3 days. When reheating, add a splash of water or a bit more olive oil to keep it creamy and prevent it from drying out. It’s best to consume within a few days for the freshest taste!